A new journal cover arrived this morning. This will carry a Field Notes notebook and a small folio with a couple of pockets that I made. Shot with Sony A7Sii and Nikkor 35mm f/2 at f/8. No post processing.
I ordered a new journal cover last week. It was from an Etsy store called Dogtown Portage. It is a Field Notes size cover made from a nice supple leather. There is plenty of room for two Field Notes notebooks and a small folio I made from cardstock that has a couple of pockets to carry a few business cards and the day’s receipts.
It will likely last forever. It will also develop a nice patina as I carry and use it.
It is a replacement for a much stiffer cover that irritates my leg when carried in a cargo pocket. That cover will probably go to one of my kids.
The image was made with my Sony A7Sii and a Nikkor 35mm f/2 lens at f/8. I did no post processing but for reducing the size of the image.
I enjoy making my Every Day Carry (EDC) work better for me. A notebook is an absolute must as well as a good pen.
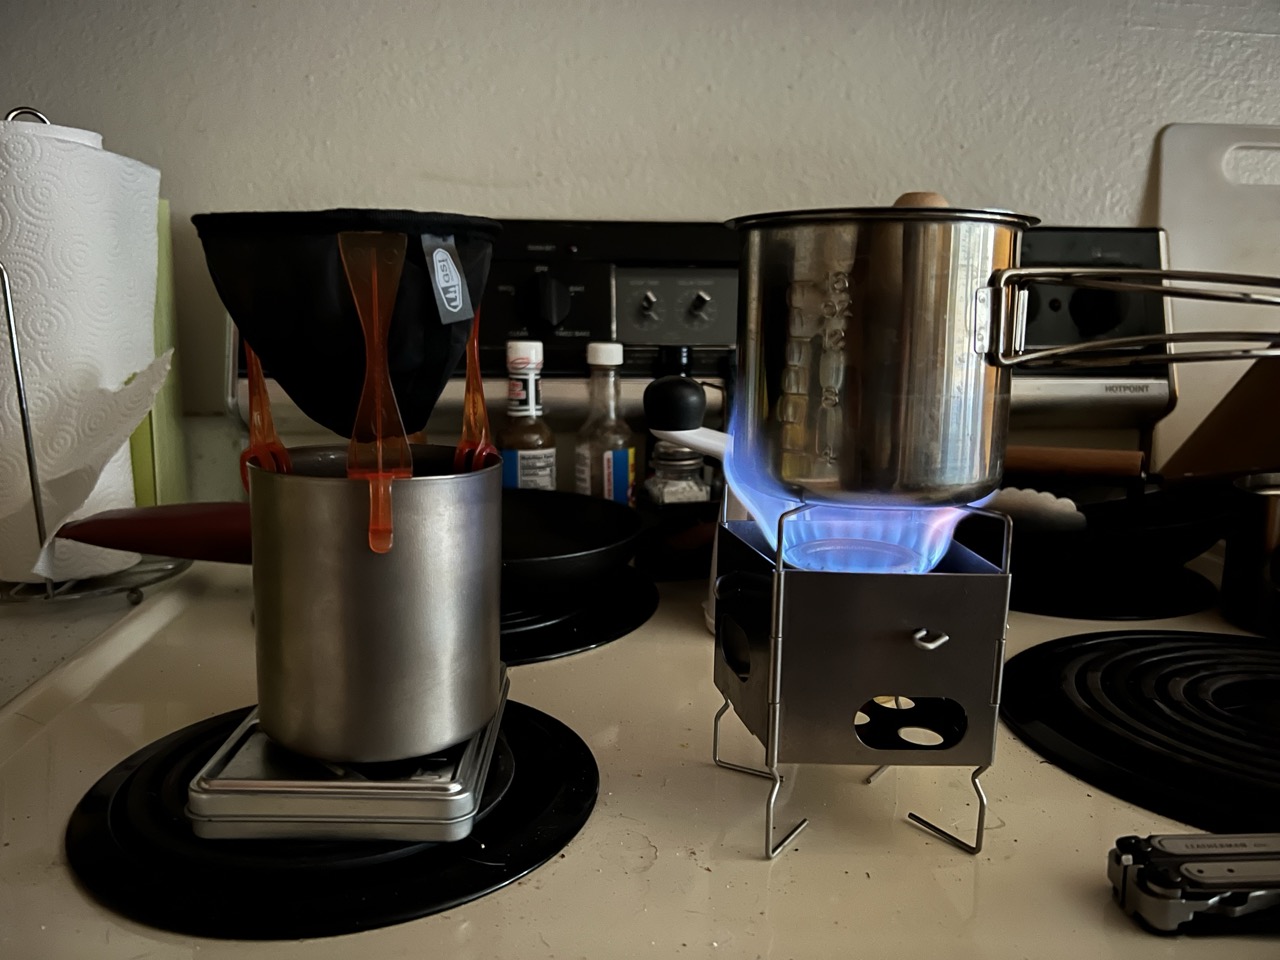
First test of my field coffee kit. Shot with iPhone 13 Pro Max.
Yeah, I probably used this image once already. Bear with me.
I am awake a little early this morning. A dream woke me; now it is gone. I started my morning regimen and decided to get in another repetition with my field coffee kit. So I set up the Firebox Nano 2.0 Titanium, Trangia alcohol burner, heating cup, coffee filter, and my new double-walled Snow Peak titanium mug. I lit the stove with a ferro-chromium fire starting rod and a Morakniv Garburg field knife.
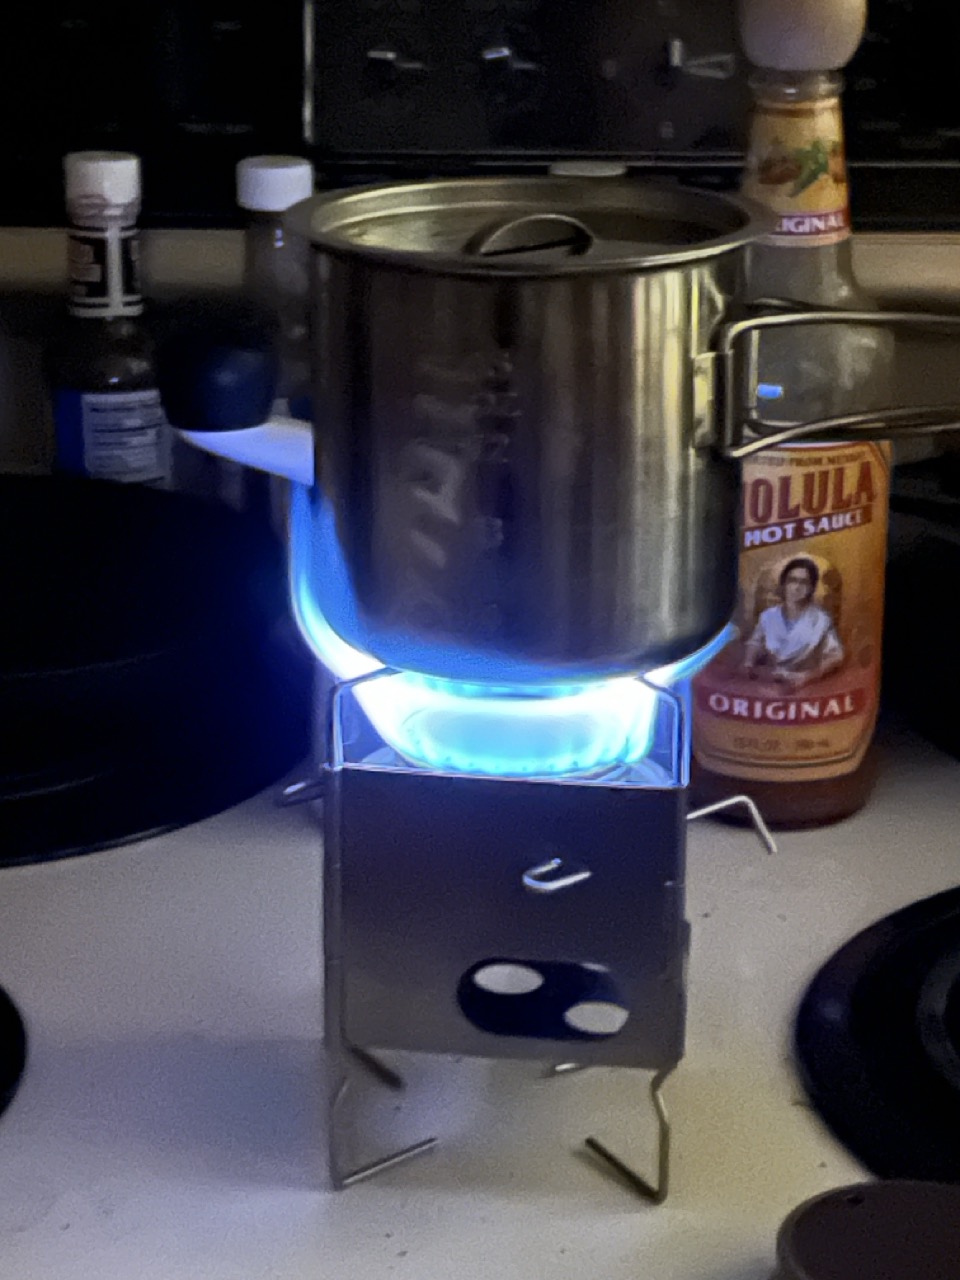
The Folding Firebox Nano 2.0 Titanium in action. Shot with iPhone 13 Pro Max.I then stepped back and took a couple of photographs. Although there are some things about the camera in the iPhone I do not like (lack of depth-of-field control, primarily), it will make images in almost dark conditions. That makes it fun when there is a light source in the field, such as the blue flame from an alcohol burner.
But I digress — the kit went together smoothly this morning. The additional reps with the little stove are good as I my setup is improving. The burner lit readily with a few strikes from the ferro-rod, while the burner bloomed, I readied the cup and coffee in my grinder.
Two cups of water took about four or five minutes to boil. That is not bad. There is plenty of fuel in the burner to prepare two more cups. I also have a small fuel bottle that will refuel the burner a half-dozen times, or more.
I ground my coffee using the Aergrind I have in the house. I have another to put in the camper and will pull the Porlex ceramic grinder for the field when I do. I also reheated the mug with a little hot water. But there is not much thermal mass in the mug.
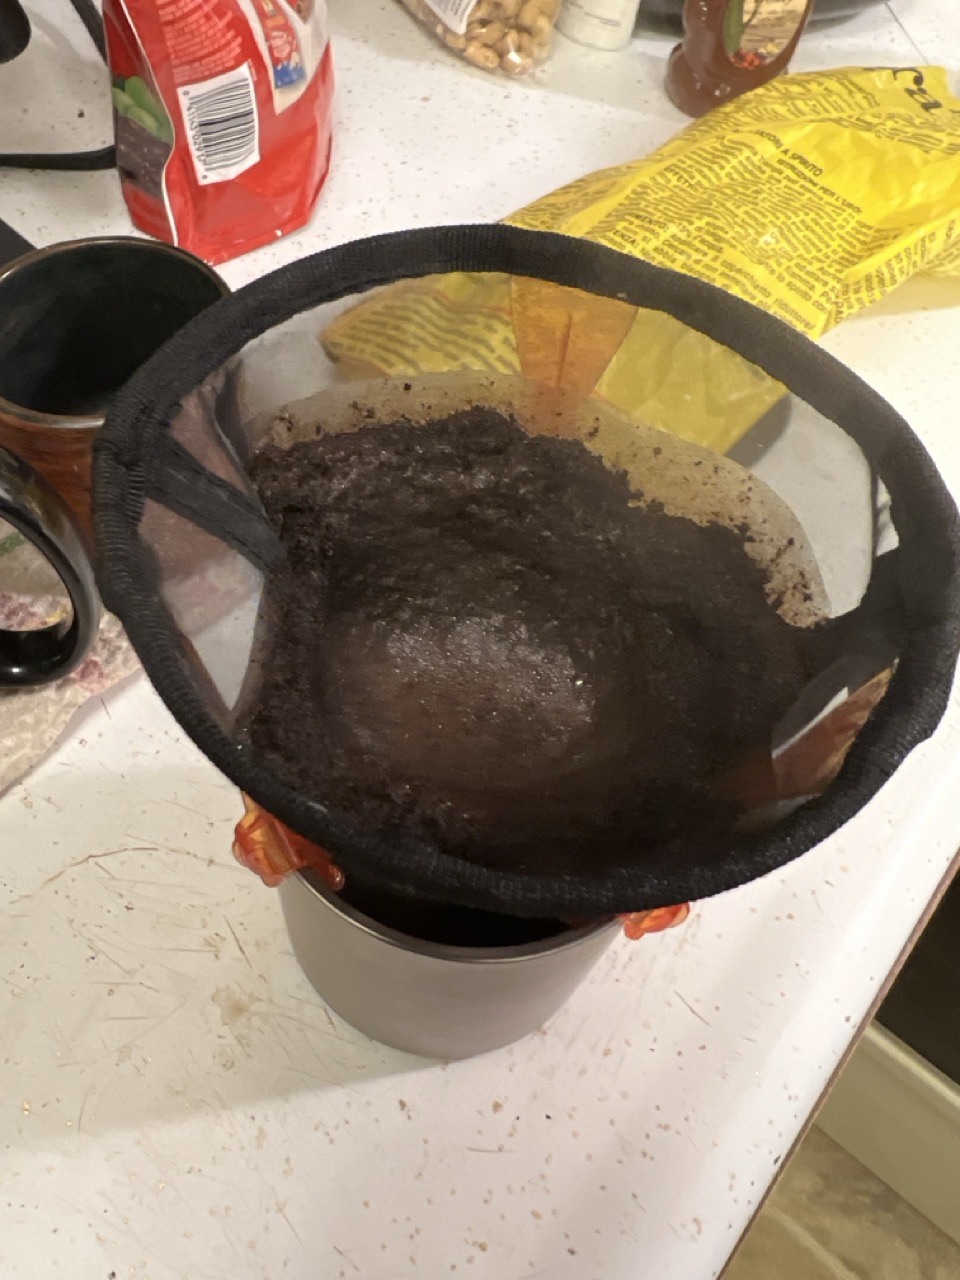
The GSI coffee filter in action.When the water boiled, I started the pour-over and then turned to extinguish the burner while the pour-over set. I then completed the pour-over and proceeded with my morning regimen.
The little coffee filter works fine. I use a fairly fine grind for my brew and I do not have a lot of sediment in the mug.
I have a dyneema bag on the way to hold my kit. I will carry this in the field a few times and use it to make coffee (or tea) for a few more reps. The little kit will work. I am pleased.
N.B. I offer a hat time to Thomas Witherspoon for some insight into his field coffee kit that was my model. In fact, he has done a good job of describing the contents of his pack(s) that is informative to those building radio field kits for SOTA/POTA.
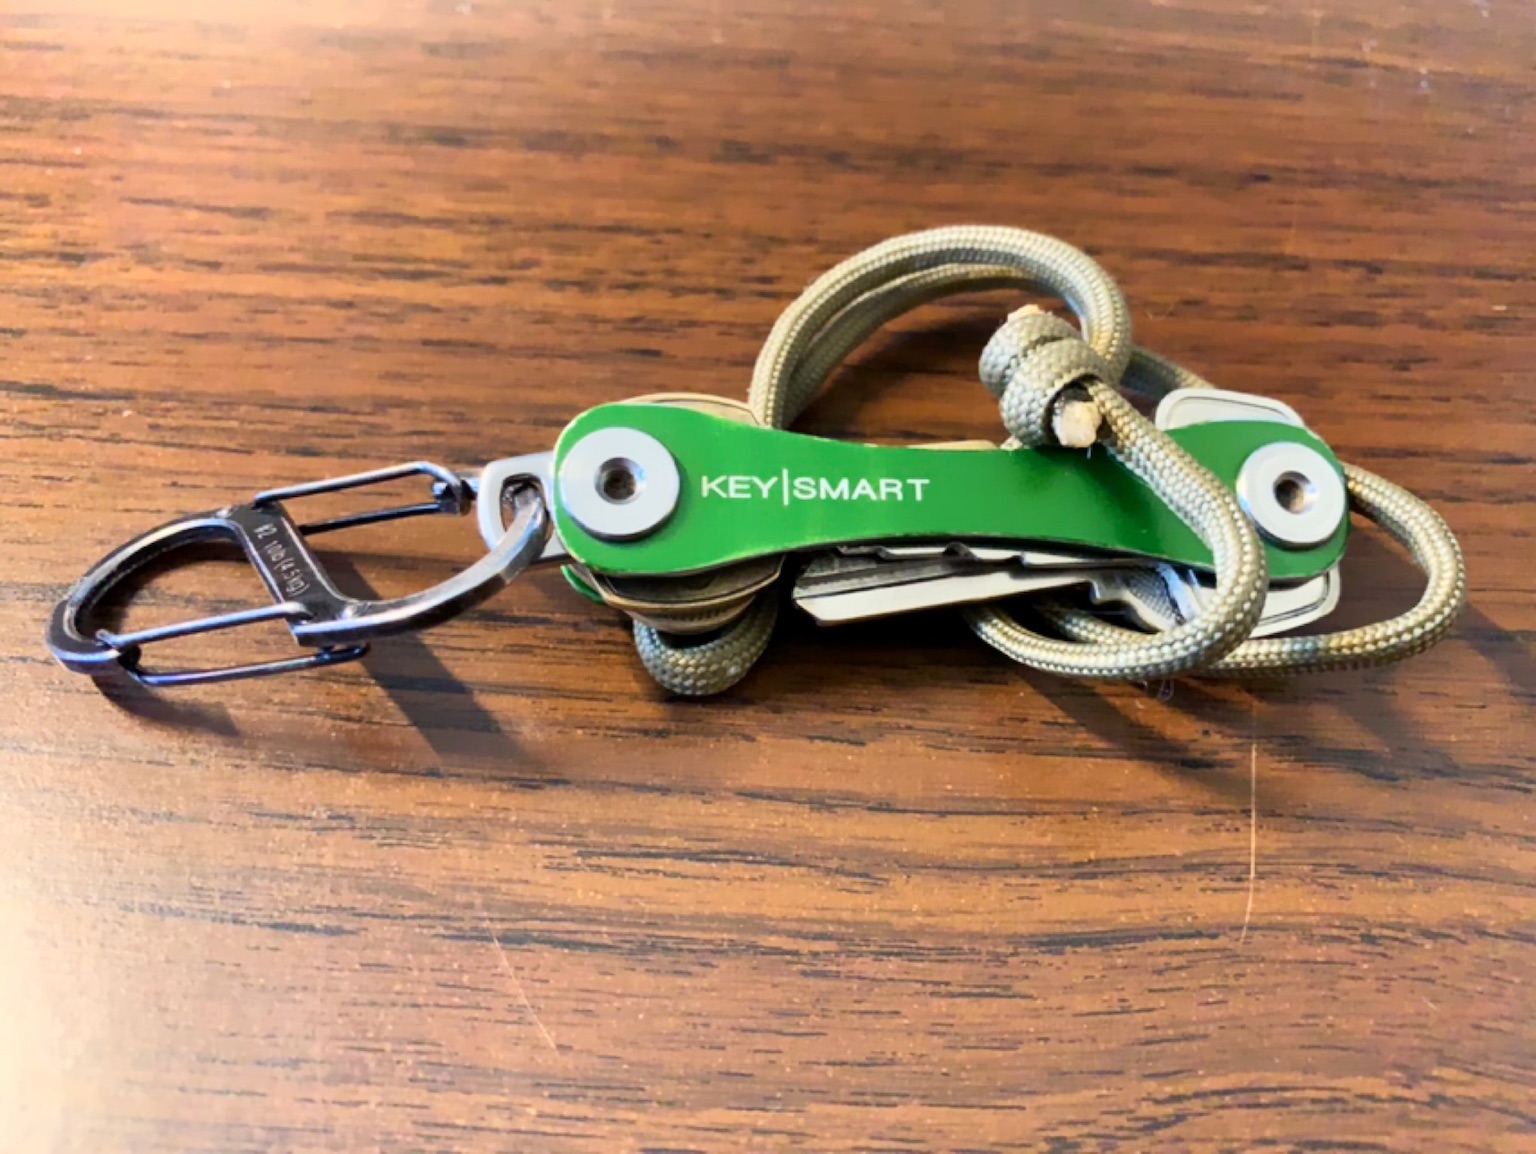
I have carried this Key|Smart for several years. The anodizing is wearing from high-friction areas, but it is holding up well and is one of my better purchases.
A couple-three years ago I carried my keys on a ring a-jumble in my left front pocket. They were on the opposite side from my front-pocket wallet. They were forever bouncing around the bottom of the pocket and I cannot recall the number of times they poked my leg, sometimes painfully.
They also subjected my pocket to a lot of wear. I have had more than one pair of jeans lose the pocket to my keys and need repair.
About that time I became aware of the EDC “thing” and the community that grew up around it. I did not that Every-Day-Carry was a “thing” — but it is quite a thing. Keys and wallets are two significant components of EDC, along with knives and other tools. I could write several articles about this and I might.
In any event, I came across the Key|Smart. It is a small device designed to hold several keys in a compact, secure holder that is easily clipped to a lanyard or other retaining device. I bought one and it was delivered a few days after my purchase.
I read a few horror stories about users who had their Key|Smart loosen and floor sort all of their keys, some of them lost. These were individuals who carried their keys outside the pocket. If the device loosened, then there could be a loss of keys. However, for the life of me, I cannot understand why one would not hear them drop to the ground.
So I assembled the set of carry-keys (I have another non-carry keyring that holds the remainder), organized them in a fashion I thought would be optimal, and started carrying them in my KeySmart.
After a few days, I build a lanyard from some paracord that permits my keys to ride in my left-front pocket but they hang from my belt and do not lie on the bottom of my pocket. This works for me. I use an S-biner to clip to the lanyard (a loop-lanyard) so I can one-handed release the upper portion of the S-biner, retrieve my keys, and flip open the housekey without needing both hands.
This works for me.
I have reorganized the keys as the number of keys changes with time. I also have the most-used keys away from the clip end of the KeySmart.
Yesterday, I removed an unused key (probably an old Post Office key) and rearranged the spacers to put one between each key. This means the keys no longer ride against each other and they are a little easier to roll out with one hand.
Besides not having a jumble of keys rattling around in the bottom of my left front pocket, the Key|Smart is nearly silent. I rarely hear it unless it bounces against the Bestech Kendo that I currently carry clipped to my left front pocket. The silence is a boon.
I can readily recommend this handily little device.
About two years ago (maybe a bit more) I tired of the jangle of keys in my pocket, their weight, and from being poked when I sat or moved such that they snagged me through my pocket. After reading about a number of alternative modes for carrying keys (which we all must carry), I purchased an original Key Smart from Amazon.
The Key Smart is not the most expensive tool for carrying keys. It is adjustable and can carry more keys than I do (about a half-dozen). Care is required to get the tension right on the screws or you might strip the female end or leave them unsecured, which means you might have a “key explosion.” I read a few reviews that included horror stories of lost keys, which were accompanied by negative reviews and “star” ratings. I believe these are undeserved as they represent user error (or SUE, AKA “Stupid User Error”) and a lack of care and attention to one’s carry kit. I have had no problem with the carrier after making some adjustments to the tension on the retaining screws.
After two years of EDC, the anodizing is holding up well. There is a bit of brassing at high-contact points, though.I noticed a few follow-up questions on Amazon a few weeks ago. There was some concern that the “paint” might wear off. As far as I can tell, my Key Smart is anodized aluminum and has held up quite well. There is some brassing along the edges, which is to be expected for an EDC piece of kit. I don’t think this detracts from the appearance; I think it shows that an item is used and loved.
To carry my Key Smart, I purchased an S-Biner (Nitecore, I believe and actually I purchased a multi-unit kit). I hung the unit from a belt loop for awhile, but decided I didn’t like that. It didn’t feel secure. It was “floppy” and banged around a bit when I was active or in a confined space. Therefore, I fashioned a loop from some Coyote Brown paracord, with the loop about eight- or ten-inches in length. I use a larks head knot over my belt and clip the Key Smart’s S-Biner to the loop, which then hangs in my pocket without touching the bottom of my pocket.
The weight is carried on my belt (which is beginning to look like a Bat Belt), there is no wear-and-tear on my pocket, and my keys don’t touch the bottom of my pocket or any of the contents of my pocket.
This works for me. I carry all my regular-use keys in the Key Smart with the exception of my 4Runner key. That lives in my second-level EDC kit.
I’ll make a photograph of a pocket dump one of these days and post the contents. I might do the second-level EDC kit then, as well as the third-level and my pack kit at some time.
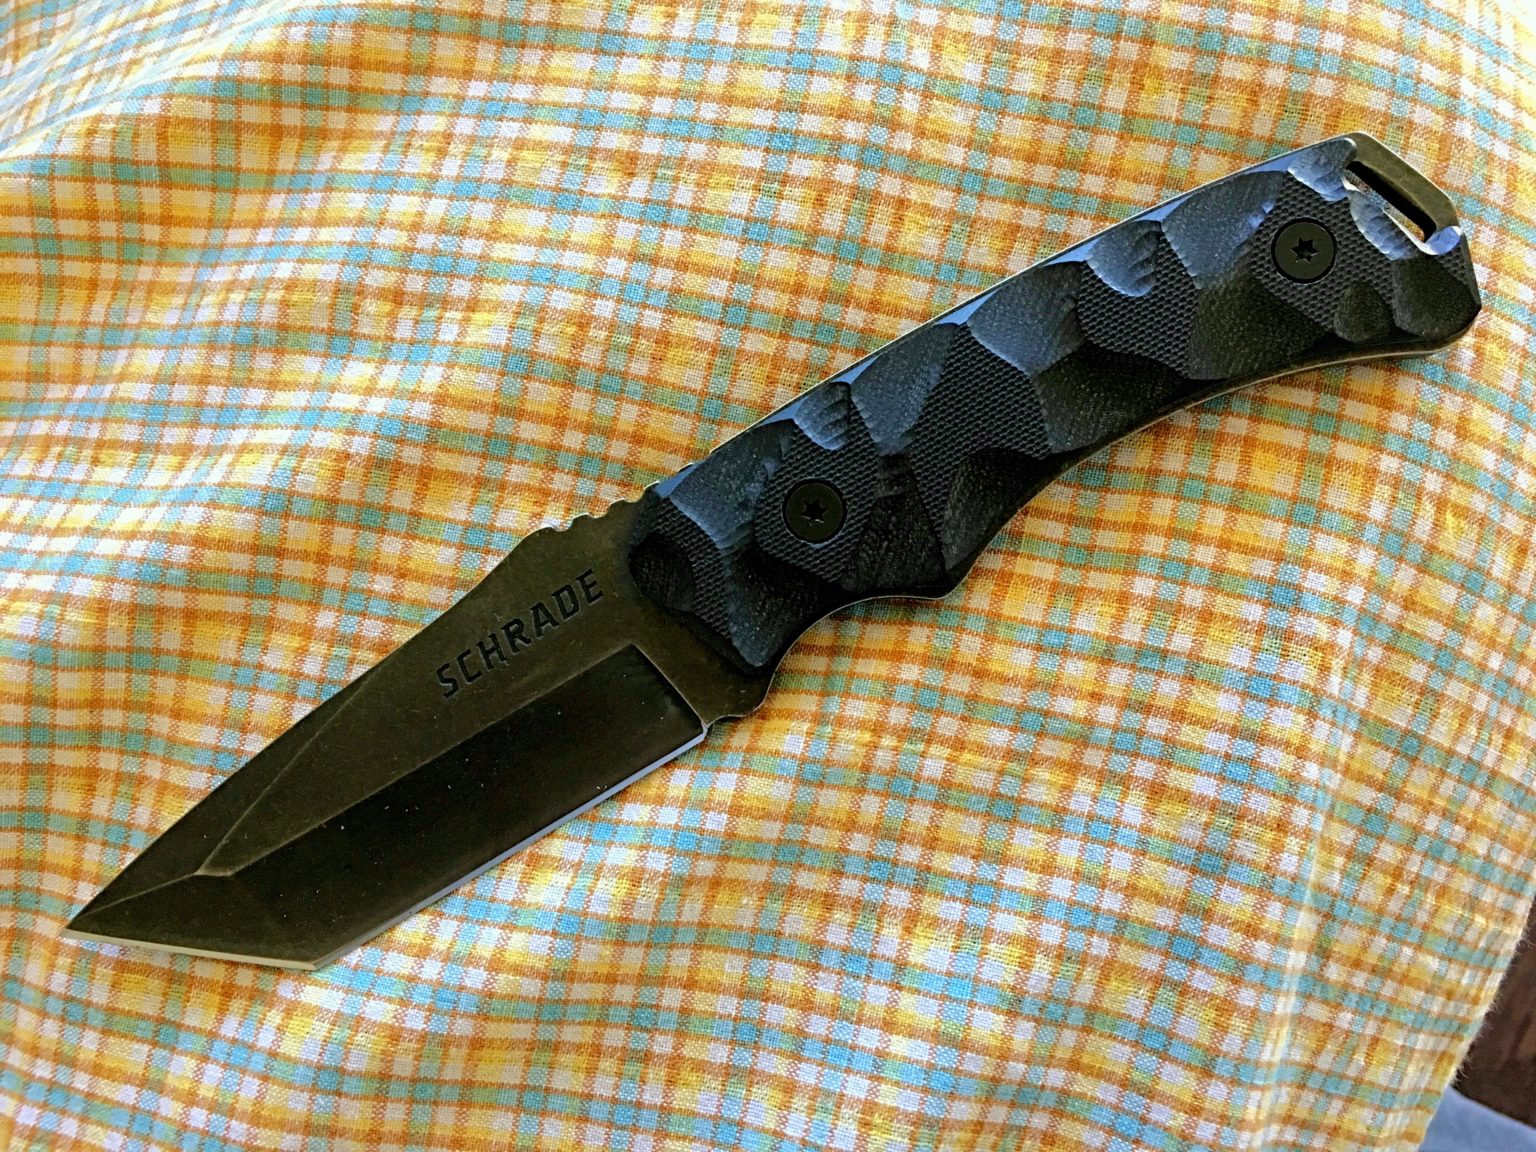
Some time ago (can’t remember anymore) I bought this Schrade SCHF15 blade. Although Schrade has a rather mixed reputation, some of their knives are quite good. I like this blade quite a lot. It is a full-tang fixed blade with a useable 3.5-inch (more or less) Tanto point blade. The weight is about right for a fixed-blade EDC, the G10 scales are nicely sculpted, and the finger choil and jimping work for me.
I like Tanto blades for their penetrating power. The hollow grind lightens the blade and provides very good cutting power. The sheath that accompanies the blade is decent and is adjustable. I’m going to put a lanyard on the sheath, remove the belt loop, and make it an IWB draw that will draw when the lanyard is stretched. That will make appendix carry straightforward and I won’t have the blade digging into my side or blocking access to my sidearm.
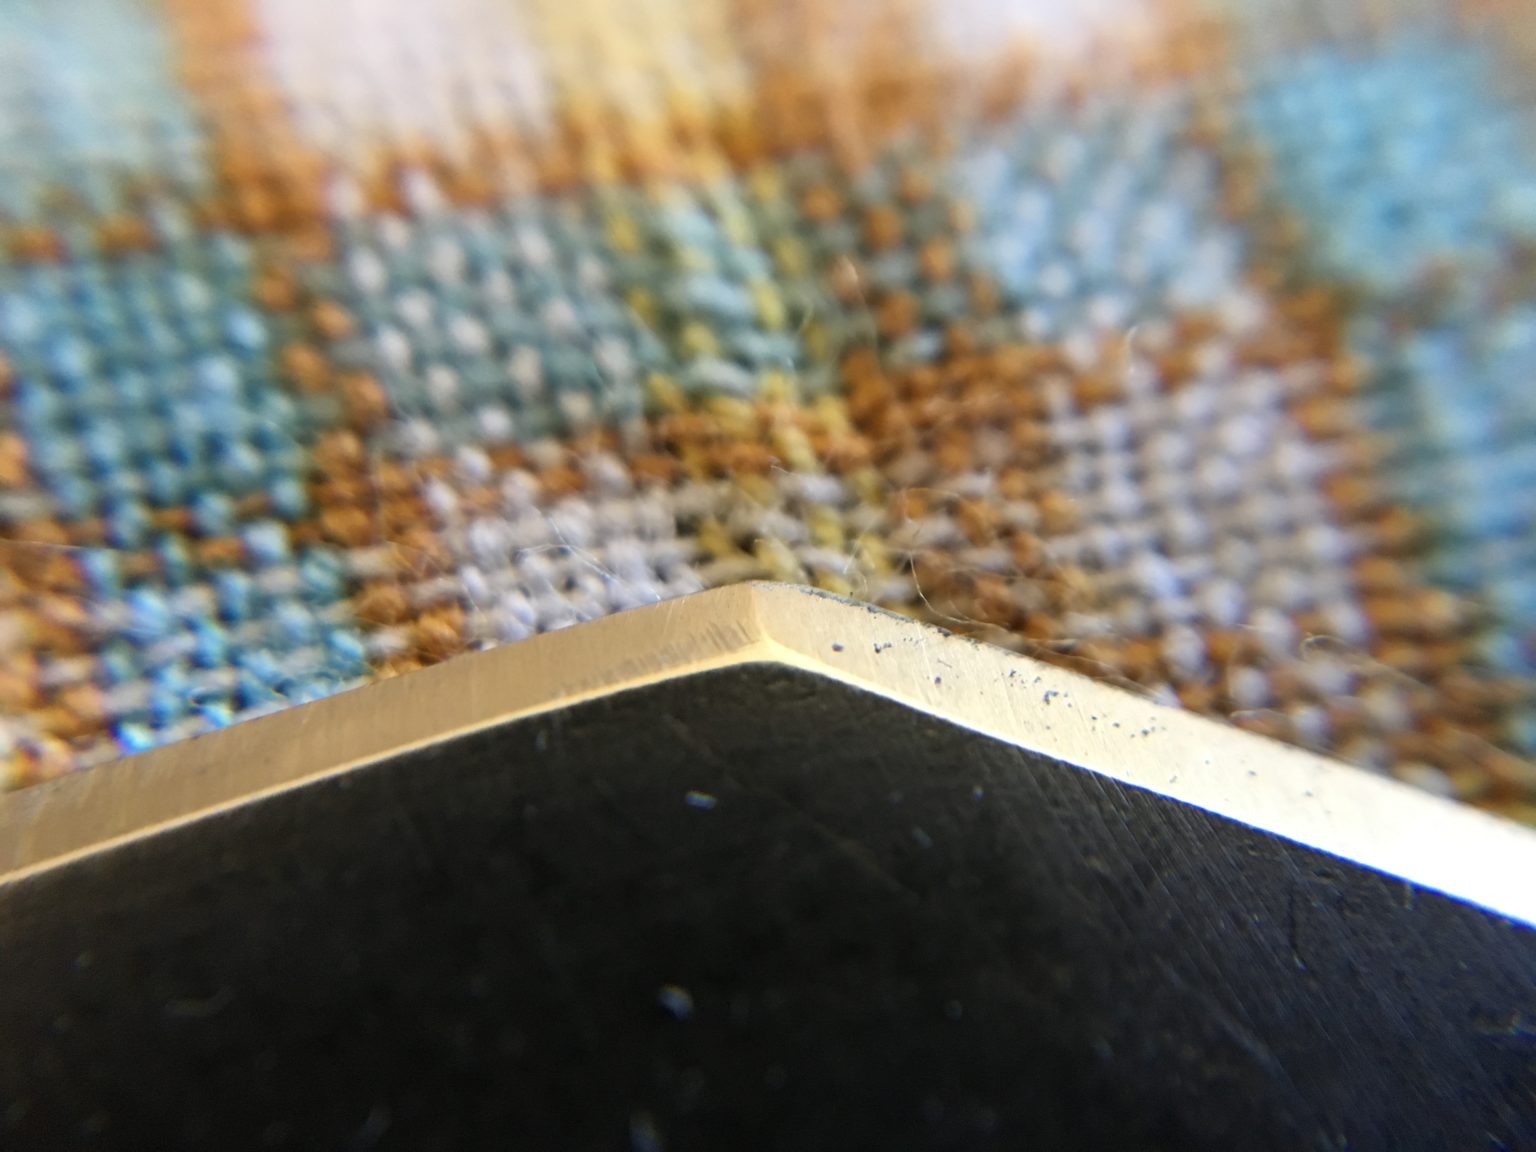
The honed/stropped edge of my Schrade SCHF15 EDC blade.I noticed that the edge needed some attention, so I put the Schrade in my KME sharpener and rebeveled the edge and got it nice and sharp. The bevel angle was a little flat at 27 degrees (I prefer about 25 degrees for edge strength) and the factory bevel was a little uneven. But it cleaned up well and only took me about a half-hour to finish the job.
I stropped the edge on my Stropman strop (wonderful product) and it has nearly a mirror edge. It is razor sharp as well.
I think this will be my EDC fixed blade for quite some time. I like the design, the heft, the balance, and the scales. I think this one is a keeper.
I made this lanyard quickly because my key needed one. It’s not the final step, I think.
The key to my rig has been bouncing around in my pocket for a couple-three months now. I’m in the process of adjusting my EDC to better fit my lifestyle. It appears there are about three stages for my EDC. The first is the always carry and those things are on my person just about all the time. The key to my rig is one of those items.
So, I decided a month ago that my key needs a lanyard. Unfortunately, the lanyard hole was too small for standard 550 paracord. So I didn’t make any progress.
This morning, after walkies and getting my bite adjusted on the new appliance in my mouth, I had a few minutes and remembered putting a small triangular file in my portable toolkit. So, I retrieved some paracord from my kit, got the file out, did test fit to ensure my recollection was correct (measure twice, cut once) — it was — so I started to work with the file.
After about 15-minutes of cut-and-check, I was pretty sure I could pull a length of line through the lanyard hole in the key. so, I cut a piece of paracord, singed the new end, and pulled it through.
Then came the knot-experimentation phase. I tried a couple of times, then decided the project was good enough for the moment and quit. I needed to get the rig to the Toyota House for service and didn’t want to be late.
So this is my first shot at a short lanyard for my 4Runner key. I’m going to work up a finishing knot for the lanyard. Then I expect to use an S-biner or carabiner to clip the key into my new EDC kit.
I’ll get around to describing it and my other levels of EDC at some point. I’m still sorting all that out.