This is a test image captured with the Sony A7Sii and a Soligor 35mm f/2.8 lens at f/8. Post processing comprised only a denoise pass with PhotoLab.
Some time ago, like maybe a decade, I actively collected lenses for the Konica AR mount. They were mostly Hexanon (Konica) lenses, but a few third-party lenses made it into the mix.
I carried an old Soligor 35mm f/2.8 adapted to my Sony A7Sii a couple of times this week on walkies. Then I made a few captures with it at my worktable.
Aside: I also carried a Vivitar 35mm f/1.9 for a day or two. I have more thoughts on the latter for later publication. In fact, I will write a 35mm shoot-out for those 35mm lenses in my inventory. I learned a few things by shooting some test shots with them. This entry is a mini-review of the Soligor.
My impression of the Soligor is not particularly favorable. It is reasonably sharp, but nothing outstanding. However, it has poor flare resistance. This is evident in the image above even though the lens is stopped down to f/8 for that capture. It is bad. It is worse wide open at f/2.8.
So, although the lens was probably an alternative to the much more expensive Hexanon issue (at the time), I think it is not a good alternative.
The capture at the bottom of this entry is from the Vivitar 35mm f/1.9 at f/8 with the same camera and same post processing. The difference between the two images is striking.
This was fun. I remain grateful and life is good.
This is a test capture made with my Sony A7Sii and a Vivitar 35mm f/1.9 at f/8. Post processing comprised a denoise pass with PhotoLab.
Sera posed for me this afternoon. She is such a hoot. Shot with Sony A7Sii and a vintage Carl Zeiss Jena Flektogon 35mm f/2.4 wide open. Post processing with Nik Tools 6 Silver Efex to produce a Tri-X look.
I am still adjusting my new workspace. I did a bit of work on it this morning, while working through my coffee and getting started on my day. I am struggling to wait to work on the PC side because I need to get ready for Field Day and field work (next week).
Nonetheless, a new-to-me Carl Zeiss Jena 35mm f/2.4 Flektogon arrived in the morning mail. I retrieved it from the mailbox on the way out to hike, but did not open it until we returned, I finished the day’s activities, and rested after my hike. I decided to shoot a few images of Sera to see how it performs.
It will take more repetitions with the lens to get it. That is OK. The process is good for me. I have not worked with my post-processing tools enough and I have a lot of glass that will keep me busy for weeks, if not months.
Change of subject: It is so good to have my MBP back in the workroom and connected to my speakers. I listened to a few old favorites this morning while having coffee. Some of them are so poignant and take me back to when Wife and I so enjoyed exploring new music together.
In particular, I have To The Bride playing as I write. It was compiled in the mid-70s when Barry McGuire, The Second Chapter of Acts, and A Band Called David toured together. It was a time at the beginning of what came to be called contemporary Christian music and much of it sounds like worship music that is now common in the church.
Wife and I saw McGuire not long after this record was produced. He came through Kansas City while we lived there. I so loved hearing him sing and play and tell his stories. He was a true minister of God and I learned much from him.
I so loved Wife at the time and sharing those experiences was so good that I do not have words for it. My heart swells as I think on it and a tear comes to my eye. She is still truly, deeply missed.
But, life goes on. It is different, but still good. I am grateful for all the years we had together. I am grateful.
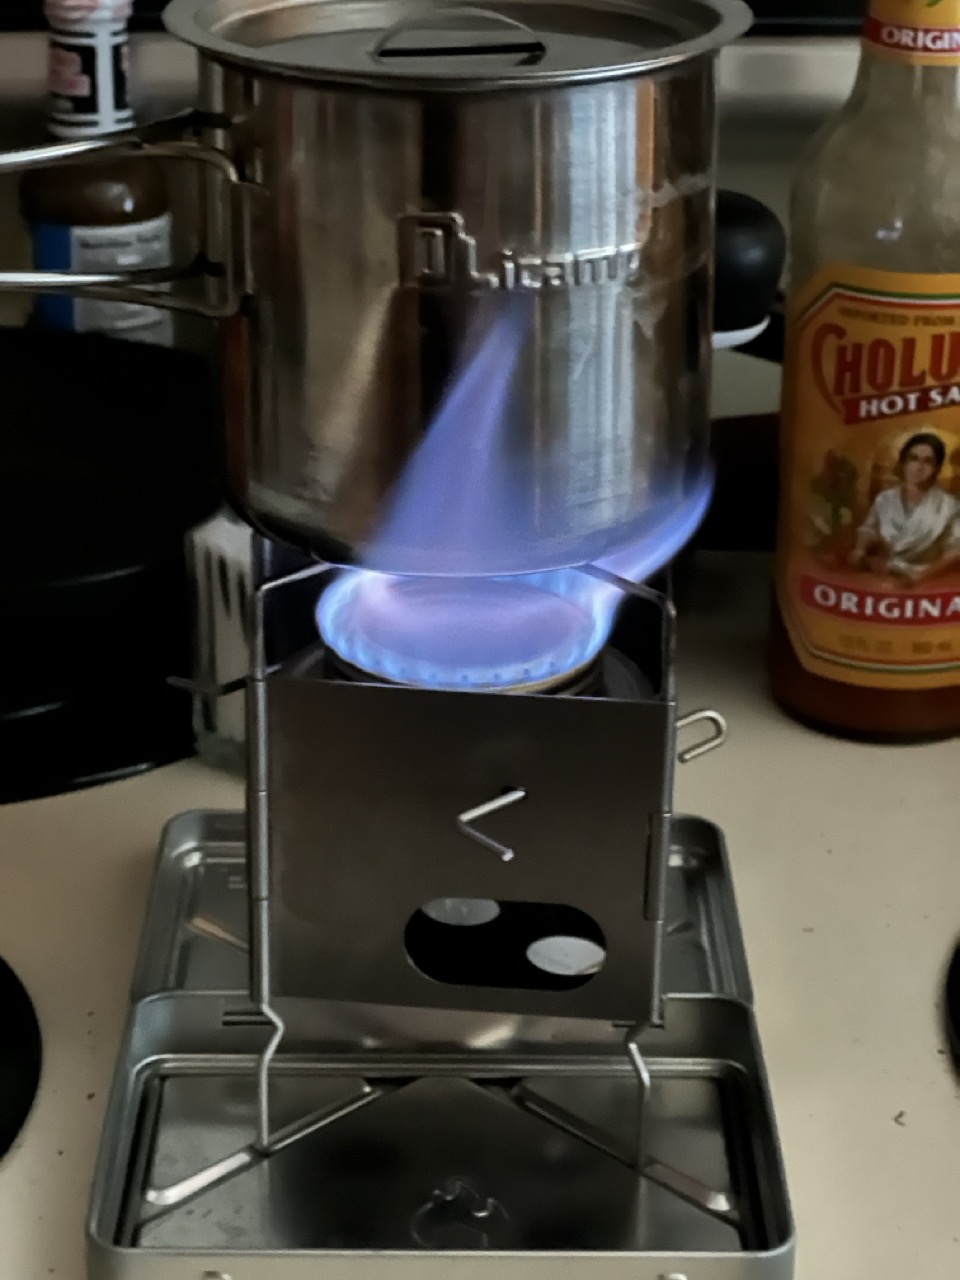
Boiling water with the Firebox Nano 2.0Ti and a Trangia burner. Shot with my iPhone 13Pro Max.
My Haley Strategic Flatpack Plus arrived yesterday. I bought (yet another) small tactical pack because I want to carry a few things in the field with me and a small camera bag. I want a pack that can carry the necessaries and a small QRP radio kit (if desired). I want to be able to carry a small camera bag cross body1 under the pack.
After the ham radio exam session yesterday, I came home and retrieved the pack from the parcel box. Well, that is, after getting The Girl out for a walk. It really is a small pack with an expanded capacity of about 700 cubic inches. (Flat is is closer to 100–200 cubic inches.) It has two compartments, a bladder pouch, and a small flat pouch. The latter is good for a small tarp or a flat paper map, folded (or both, I suppose).
Aside: I am a Volunteer Examiner for the American Relay Radio League. That means I am certified to proctor an amateur radio license examination and the FCC will accept the result.
I bought two of the clear top pouches, a large and a small. The inside of the pack is lined with a loop field, which means appropriately fitted pouches will affix to both the back of the pack and the inside of the large compartment top. One of these pouches will contain a set of clean clothes — shirt, undies, and socks. I will have a change of clothes. The second pouch (the small one) will catch something; I have not figured that out yet.
There is plenty of room for my small cook kit (the stove is above) so I can heat water for coffee/tea or to hydrate freeze-dried food for a hot meal. I have a small bottle to carry alcohol fuel for the Trangia burner. I will work on some of the remaining components today, but am thinking that a small medical kit (more than a boo-boo kit) to supplement my EDC pouch (cargo pocket), a small fire kit (to create warmth or cook), a small radio kit (one of my QRP rigs, plus battery and wire antenna), and cordage to put up a shelter (the tarp) will round it out. I can carry a water bottle(s) or put a small bladder in the bladder pouch.
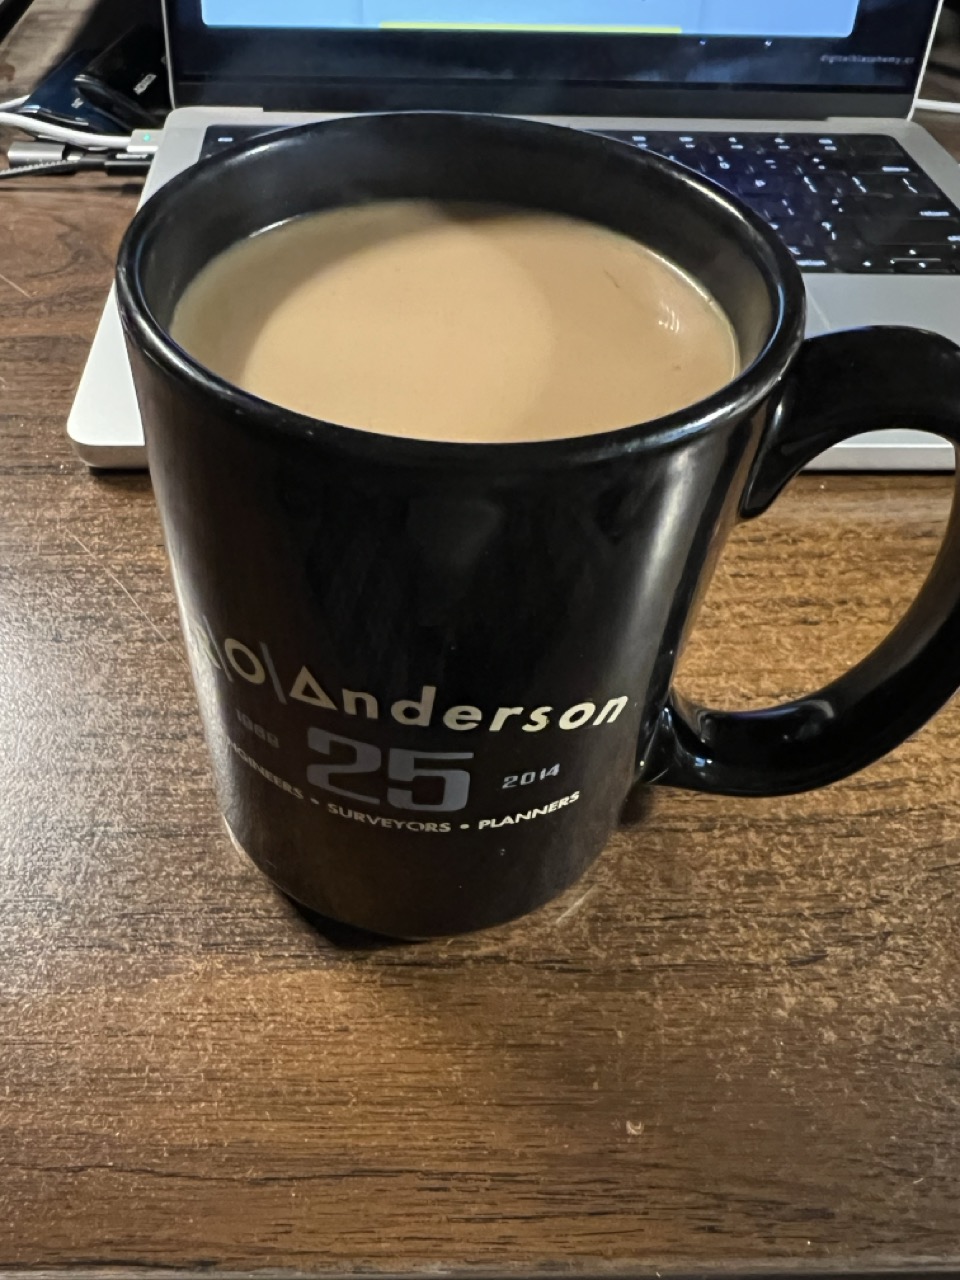
The coffee I made by boiling water with the Firebox Nano 2.0Ti and an Aeropress. Shot with my iPhone 13Pro Max.Last night (early this morning), I was awake so I used the stove to heat water for tea. I then decided to use it again this morning to heat water for my coffee. The little burner works fine, but might need a wind screen for the field. I have a small bag to carry makings for coffee and tea. I could add a packet or two of soup mix without adding much weight.
Today I will determine whether (or not) I can carry a small Domke camera bag cross body under the pack straps and still have access to the camera. My camera will be either the Fujifilm X100V or the X-E4 (and a spare lens or two). The cameras are really small, so the bags are small, too.
This might actually work, be reasonably light, and provide routine and light emergency capability in the field when I am hiking with Sera or playing a little radio on a remote summit or a park. I am looking forward to getting in to the field today, even if the weather is quite a bit colder than it has been.
Also, the last of the camper parts are on the way. I hope to have it repaired in a week or two and plan to get out and do some camping before the end of the year.
Sera is snoozing under my worktable. It is a welcome sound. Life is good.
1I carry camera bags and cameras (on straps) cross body because I absolutely cannot stand to have anything hanging around my neck.
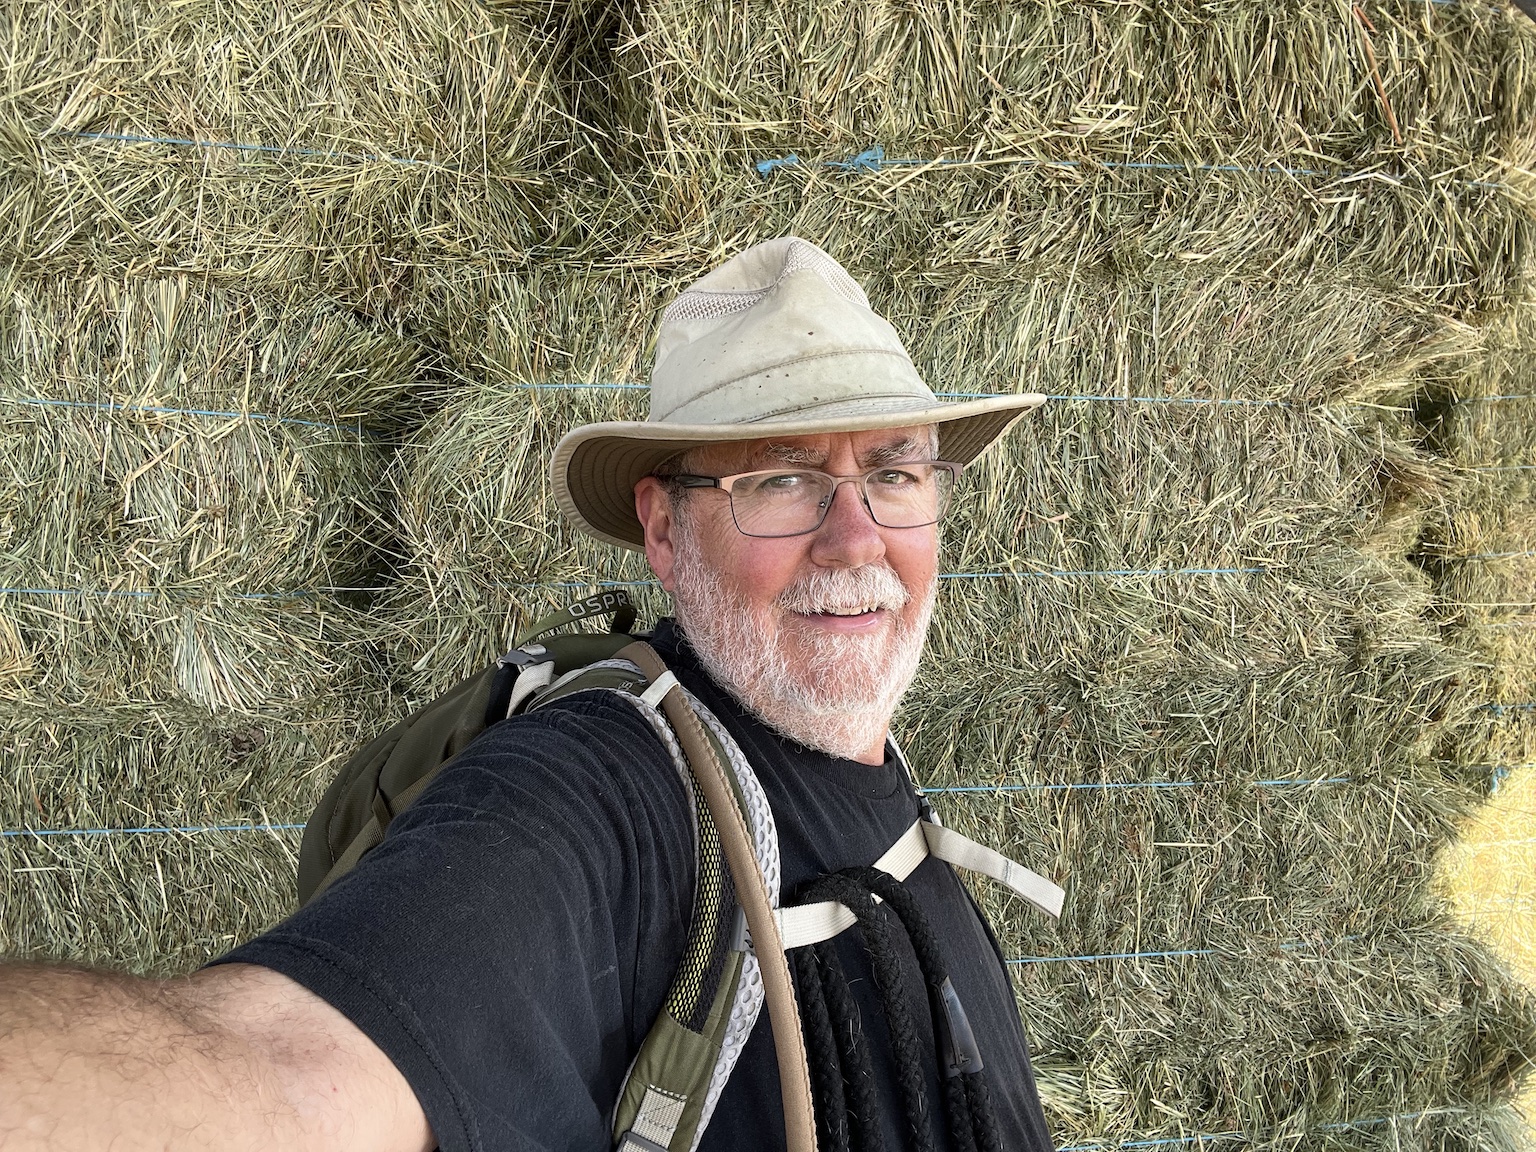
This is an iPhone selfie of me with the Osprey Stratos daypack in front of the Silver Saddle Ranch alfalfa haystack.
Yep, that is me in a rare selfie shot with my iPhone 13 Pro Max. On my back is the Osprey Stratos 24-liter daypack. It has been carried many times in the field, both on my daily hikes and when working.
There is much to like about this pack. It is well constructed. It is suspended off my back. Although that does not eliminate a sweaty back on warm days, it does permit significant air flow over my back and the suspensions system prevents chafing, which has been a problem with some packs I have worn.
It carries a 2-liter Camelbak easily in a pouch inside the rucksack. There is space for a couple of water bottles on the sides as well. Each will hold a one-liter Nalgene bottle.
But, it is not my perfect pack. The ruck has a bit of an odd shape and does not permit carry of much beyond the Camelbak. There is some room in the flat pocket on the front the pack and a small pouch on top for a few items.
It is plagued by my common issue with most civilian packs — there is no place to hang stuff on the outside of the pack. Military packs all have webbing and that provides space to hang some of the things I want to carry in the field, but do not want inside the pack. I want a place to hang Sera’s lead (other than the sternum strap). I want a place to hang a small pair of binoculars. I want to hang a camera sometimes, when I do not want it in hand.
So, as much as there is to like about the Stratos, it is not the solution I want.
Enter the Eberlestock FAC pack. It has webbing, is a little larger (with room for a radio inside), and has a good waistbelt. It does not have the suspension of the Osprey, but has a lot of padding on the pack and straps.
I just need to take time to outfit it and work out where I want to put things. Maybe I can get to it this weekend. Then I can carry it in the field a few times and test it.
In any event, I am still looking for the perfect pack.
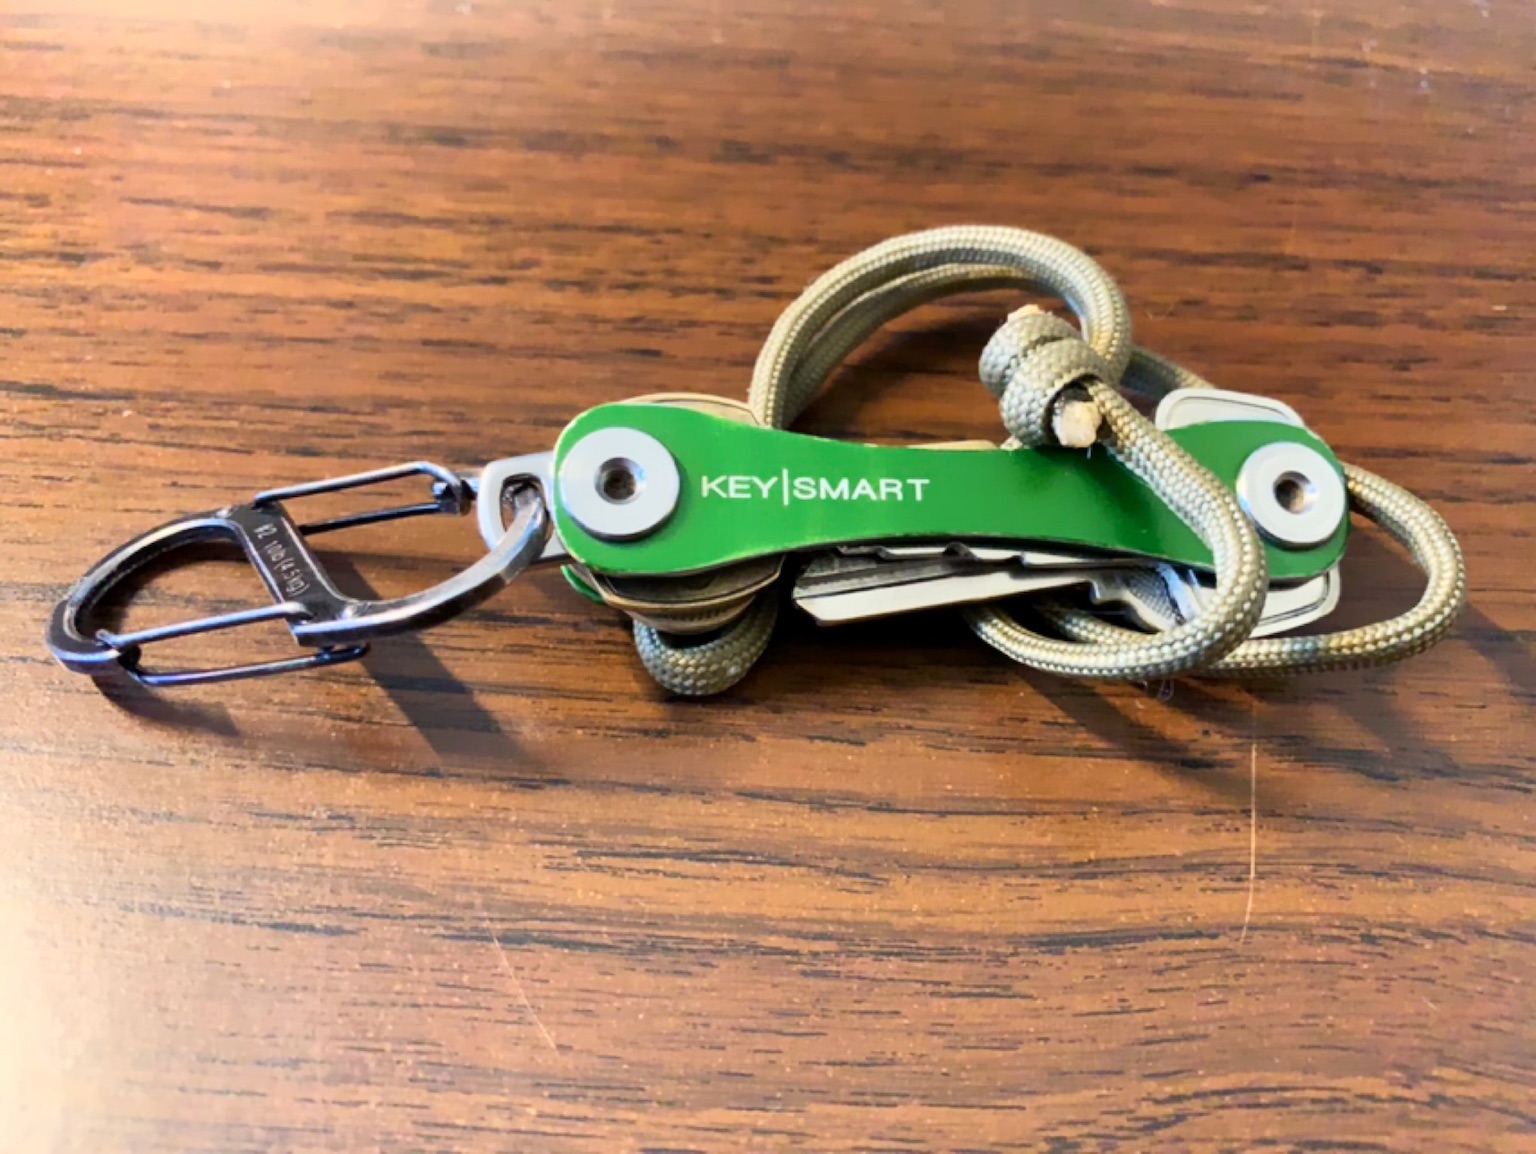
I have carried this Key|Smart for several years. The anodizing is wearing from high-friction areas, but it is holding up well and is one of my better purchases.
A couple-three years ago I carried my keys on a ring a-jumble in my left front pocket. They were on the opposite side from my front-pocket wallet. They were forever bouncing around the bottom of the pocket and I cannot recall the number of times they poked my leg, sometimes painfully.
They also subjected my pocket to a lot of wear. I have had more than one pair of jeans lose the pocket to my keys and need repair.
About that time I became aware of the EDC “thing” and the community that grew up around it. I did not that Every-Day-Carry was a “thing” — but it is quite a thing. Keys and wallets are two significant components of EDC, along with knives and other tools. I could write several articles about this and I might.
In any event, I came across the Key|Smart. It is a small device designed to hold several keys in a compact, secure holder that is easily clipped to a lanyard or other retaining device. I bought one and it was delivered a few days after my purchase.
I read a few horror stories about users who had their Key|Smart loosen and floor sort all of their keys, some of them lost. These were individuals who carried their keys outside the pocket. If the device loosened, then there could be a loss of keys. However, for the life of me, I cannot understand why one would not hear them drop to the ground.
So I assembled the set of carry-keys (I have another non-carry keyring that holds the remainder), organized them in a fashion I thought would be optimal, and started carrying them in my KeySmart.
After a few days, I build a lanyard from some paracord that permits my keys to ride in my left-front pocket but they hang from my belt and do not lie on the bottom of my pocket. This works for me. I use an S-biner to clip to the lanyard (a loop-lanyard) so I can one-handed release the upper portion of the S-biner, retrieve my keys, and flip open the housekey without needing both hands.
This works for me.
I have reorganized the keys as the number of keys changes with time. I also have the most-used keys away from the clip end of the KeySmart.
Yesterday, I removed an unused key (probably an old Post Office key) and rearranged the spacers to put one between each key. This means the keys no longer ride against each other and they are a little easier to roll out with one hand.
Besides not having a jumble of keys rattling around in the bottom of my left front pocket, the Key|Smart is nearly silent. I rarely hear it unless it bounces against the Bestech Kendo that I currently carry clipped to my left front pocket. The silence is a boon.
I can readily recommend this handily little device.
Many years go, Pastor John would refer to Thelonious Monk in one context or another. I was not familiar with Monk and sometimes wondered who he was and what his role in music might be. I wondered if he was an aphorism, much like Dad’s reference to Barney Oldfield, who came up often when I was a young man and learning to drive.
I had not thought about either much until a few days ago (about a week, in fact). A favorite reviewer of audio equipment, the Audiophiliac, mentioned Monk in a music review. I streamed his suggestion (Thelonious Monk plays Duke Ellington) a couple of times on Spotify and was sufficiently intrigued to find a copy of the CD and purchase it.
The disc arrived today. I ripped it to ALAC (lossless Apple) and pushed it to my iPhone. I’ve been listening to it this afternoon. The material is not typical Monk (much to the chagrin of the critics of the time) but is Monk doing his thing interpreting some of the standards of the time.
The material is familiar to anyone who likes music. The recording was remastered in 1987 for this particular disc. I find it amazing that this was recorded in 1955. I was two-years-old. I’m going to enjoy this recording quite a lot. If you like jazz standards, it is worth finding a copy.
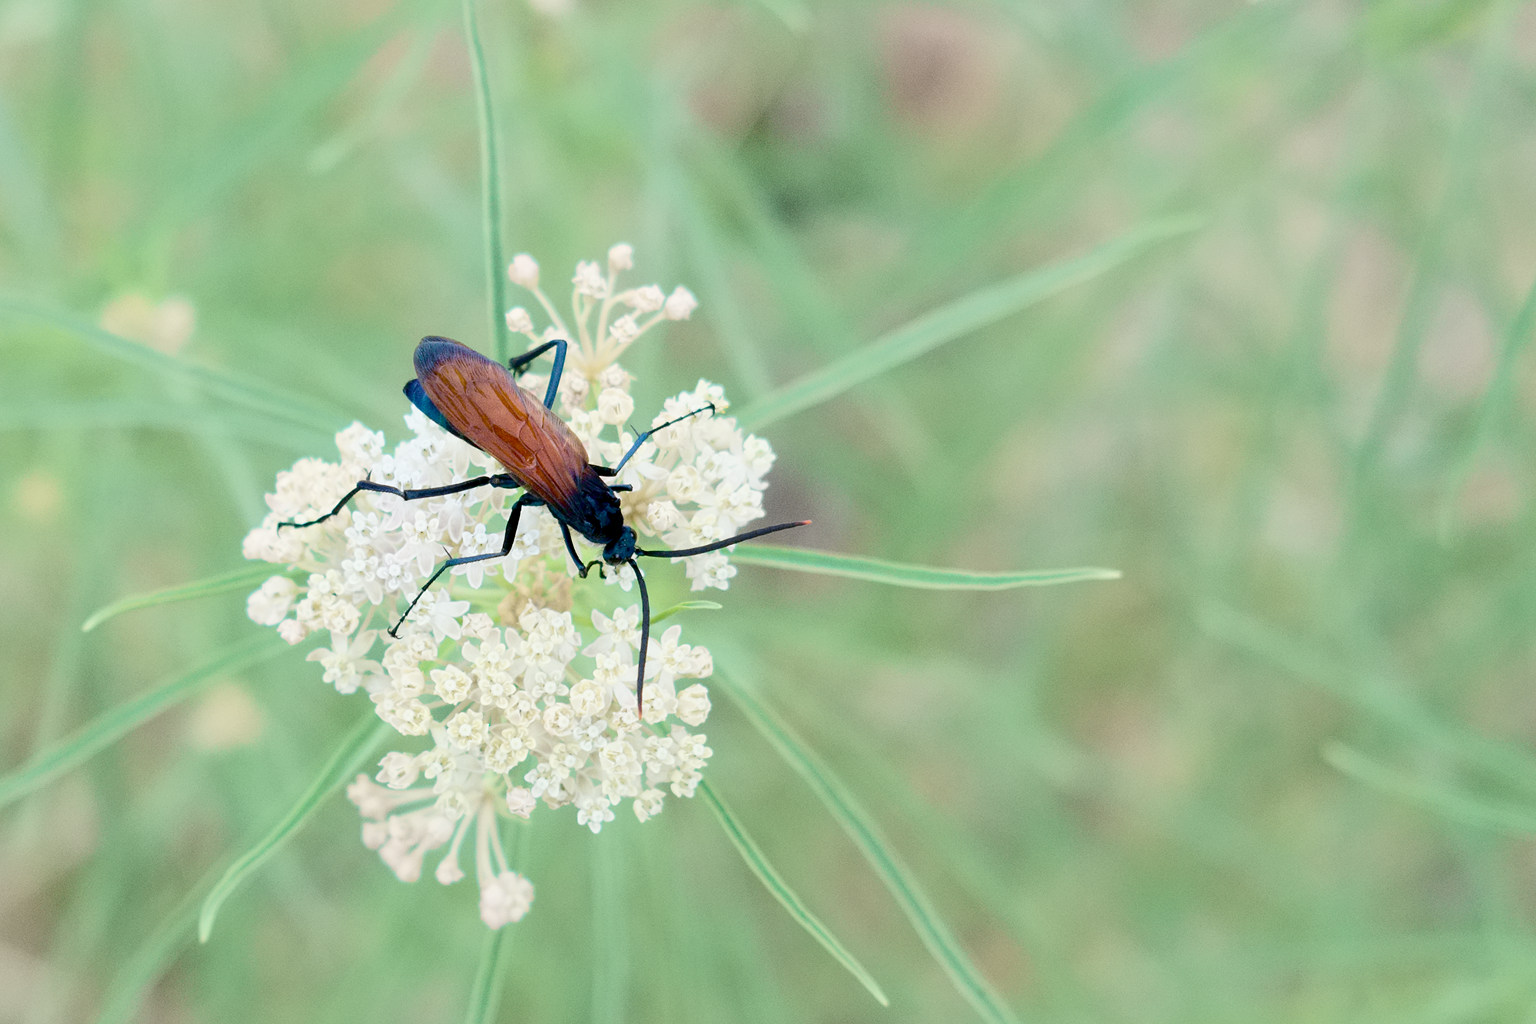
This compact Fujinon 35mm f/2 is one of my favorite lenses.
I bought the Fujinon XF 35mm f/2 WR lens some time ago. I don’t recall exactly when I purchased the lens, but it was sometime after I bought my X-T1. As Fujifilm released their compact series of lenses, they received very good reviews. They are fast. They are compact. They are well-made (mostly metal and glass with plastic where it makes sense). They are weather resistant (like the X-T1).
There are plenty of very technical, pixel-peeping, jargon-filled reviews on the Interwebs. I think those reviews are interesting, but then I am an engineer and I like technical analysis. My short review is not like those. That is all done and I can add nothing significant to that content.
What I can do is share some of my experience with this particular lens on the X-T1. I carry it a lot (hence all the dust). It complements the small form-factor of the X-T1 well. It is excellent optically. It focuses accurately (for the most part) and quickly. It is also very quiet.
I found this on morning walkies Sunday and had to have an image.A number of the images on my weblog were made with the Fuji 35/2. Some of my favorite images (think the pepsis wasp) were made with this lens. Some of the characteristics of this lens that I like are:
It will focus to about a foot, which is close enough to work as a light macro lens.
It has good contrast.
It is small and light.
It is fast enough to provide separation between the subject and the background.
The out of focus portions of the image are quite pleasing.
There is only one thing that I don’t think this lens does very well. It will sometimes miss focus, especially when close in. That is a limitation of the system and not a fault of the lens. The Fujinon 35/2 is not a true macro lens. The focusing sensors will sometimes target the background behind a close subject. When I miss this in review I am disappointed when I return to the computer and begin working on the image.
The solution is to check focus in the field after making the capture. The alternative is to use manual focus (which the X-T1 does very well) with the split screen and focus peaking.
The split-screen capability of the X-T1 operates by presenting a small portion of the center of the image, enlarged, adjacent to the full frame in the EVF. This is perfect for use with manual focus, either when operating the Fujinon lenses in manual mode or when attaching legacy manual focus lenses to the camera via an adapter. (I have a large collection of legacy glass that can produce beautiful images.)
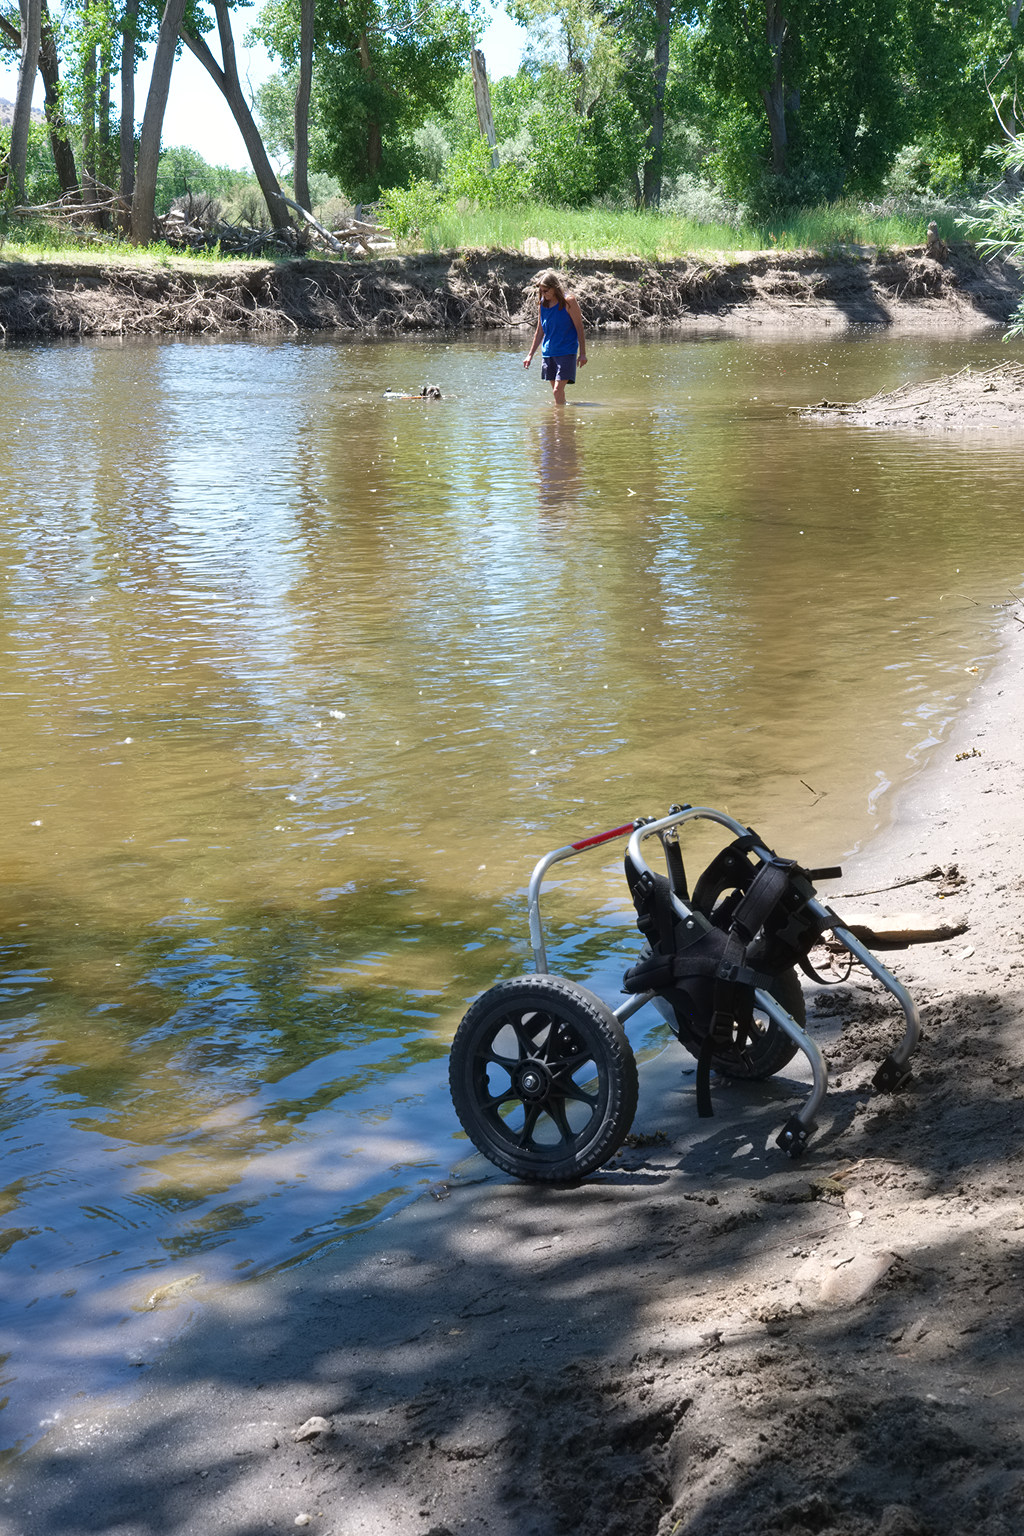
This boy is the victim of a couple of bad spinal disks. However, in the water, he’s just a dog — his land-gear left behind.Focus peaking is an algorithm in the camera firmware that detects the sharpness of the image and highlights sharp areas in the EVF. Focus peaking was a feature of my first mirrorless camera (a Sony NEX-5N, that I loved and used a great deal) and was a requirement when I started looking at the Fujifilm Finepix cameras. Fuji knows how to do focus peaking just as well as Sony.
Although my intent is not to review the Fujifilm X-T1, those points are salient because the Fujinon 35/2 works with the camera as a system and this system works well for me. It is a good system.
To sum up, I really like the handling of this lens on the X-T1. With a compact lens and relatively small body, the combination is light, handles very well, produces excellent images, and is a joy to use. The X-T1 and 35/2 fit into a small bag and there is room for extra batteries, extra memory cards, and a couple more of the compact Fujinon lenses. But, those lenses are a topic for another entry.
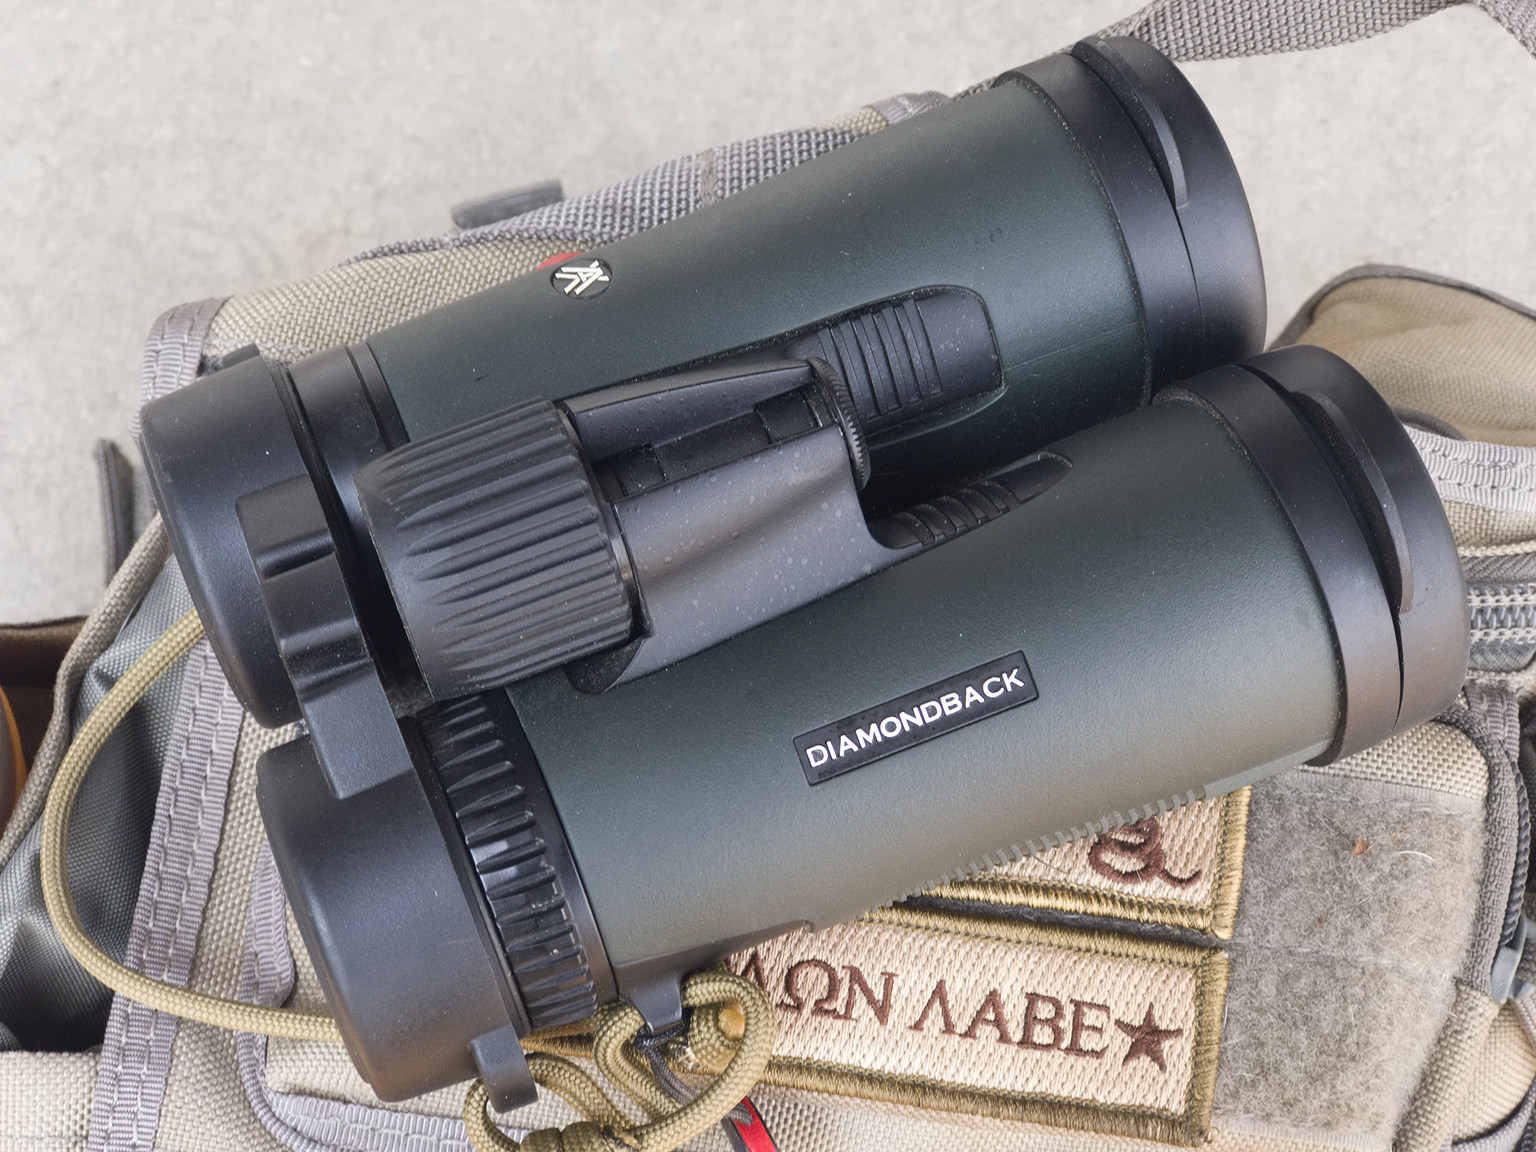
I bought this pair of Vortex Diamondback binoculars a couple of months ago. They are very good at the price point.
A decent pair of binoculars is an appropriate part of an outdoorsman’s equipment. They are useful in so many situations where a better view of a distant object is needed. That could be birds or other wildlife or a more tactical situation.
I have a couple pairs of Nikon binoculars. I spent about a hundred bucks for the pocket set and a couple of hundred bucks for the compact pair. They worked reasonably well a few years ago when I wore contact lenses.
However, I gave up on contact lenses because my eyes just do not tolerate them well. It is too dry and I could not keep my eyes wet enough. After discussing this issue with my eye care provider, I gave up and went back to regular spectacles.
I muddled by with the limited eye relief (the distance between the eyepiece and the eye) for a couple of years. But earlier this year I decided that I like looking at and identifying birds. After a little research, I chose a pair of Vortex Diamondback binoculars and bought the 8×42 version at the local outdoors store.
Magnification greater than eight times does not work well with handheld optics. We move too much and the field of view will not be either stable or clear. I think that eight magnifications are actually a bit much (I prefer seven magnifications for handheld optics). But I could not find this model in a 7x version. Regardless, they work well enough.
The eye relief is sufficient for my application. I get a full field of view with my eyes and eyeglasses. The field is bright, contrasty, and sharp. They work.
The objective diameter is only OK for night viewing (only 42mm) and is not the best for astronomical application. They work well enough if they are what you have, but a larger objective would be better for that application.
They are mildly susceptible to flare (loss of contrast and ghosting) if a bright light source is in the field of view or if the sun shines on the objective lens. The flare presents as a bright area on the opposite side of the field of view. It is not awful and is consistent with binoculars at this price point (about two hundred bucks). I can live with it.
One of the great offerings of Vortex is the warranty. It is a no-questions-asked lifetime warranty on the units. I am not particularly hard on my things, but I can tell you that I dropped my binoculars already. It will happen in the field.
The next step up in this line (the HD version) is one of the Audobon recommended binoculars for bird watchers. They are about $500 on the street. They are the same magnification and objective size (8×42) and I think they are worth a look. I might buy a set of those later this year and keep the current set in my SUV for those time I do not have my pack with me. I know that I reach for the pocket Nikons now and again when I am driving and see something in the distance I cannot identify.
The paracord lanyard was something that I put together. I hang my binoculars from a Grimloc on either the shoulder strap of my pack or the crossbody strap of my Versipack. I also use a paracord loop to trap the eyepiece cap.
I can recommend the Vortex Diamondback binoculars for general field use. They are reasonably powerful and optically good enough for a budget-priced optic. They have enough eye relief to work with my eyes and eyeglasses. I will keep my set and sell the Nikons.
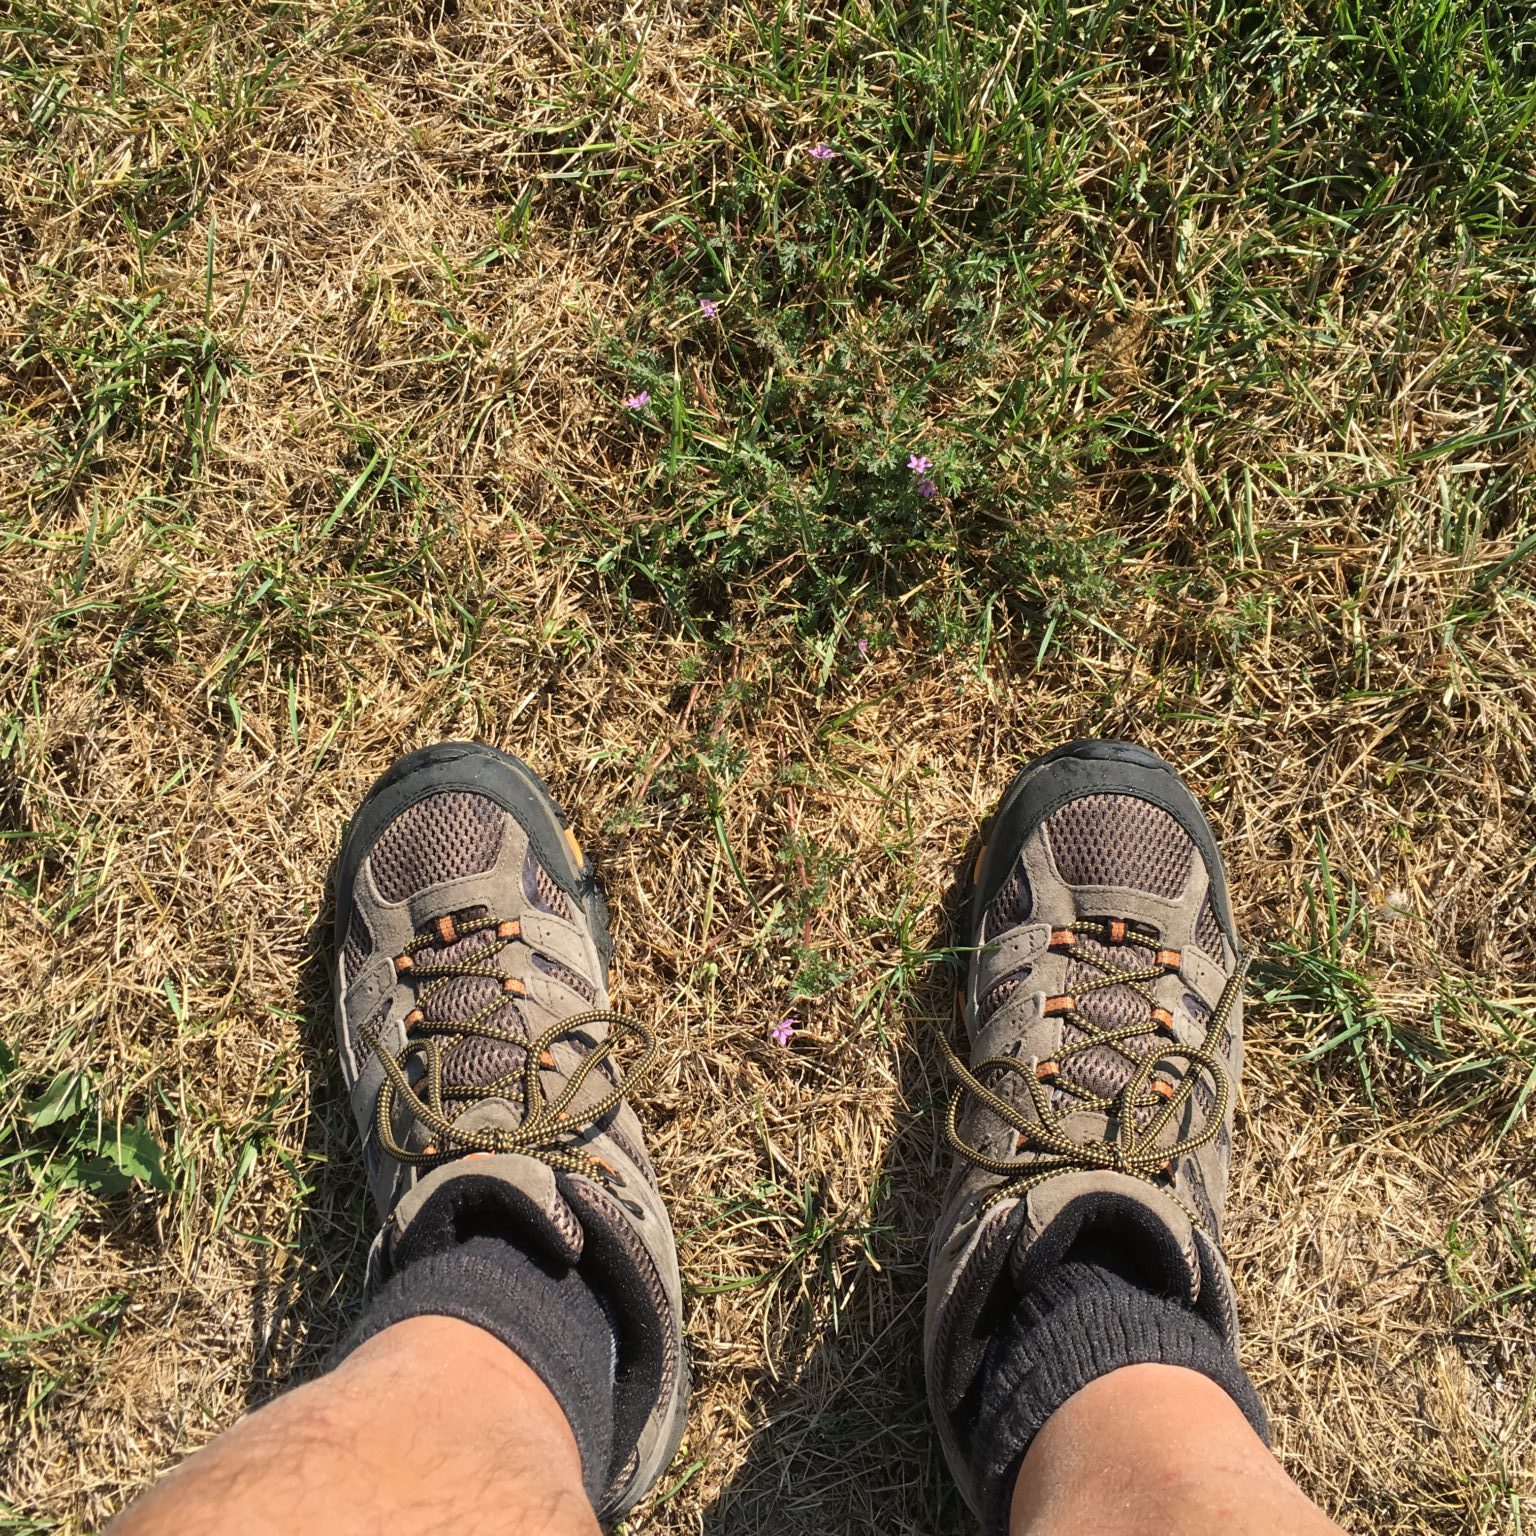
New boots arrived Monday. It was time to rotate out an older pair.My new boots arrived Monday afternoon. The older pair were finally at the point I decided to retire them. Most of the tread is gone from the Vibram soles and the upper has lost much of its support.
This has to be the tenth pair of Merrel Moab Ventilator boots I’ve worn out. I wear out a pair or two of the three-season boots every year. I wear out another pair of the wet/cold-season boots every other year.
I walk a lot. These are decent boots. At their price point, they are difficult to beat. They fit my feet well. They provide some arch support. They are reasonably grippy on the surfaces I encounter. They are cool enough on hot days and perfect on warm days.
I keep two pairs active much of the time. I rotate them so they have a chance to dry after a walk. After about six months the older pair is retired and a new pair brought into use. They break in after a week or so. Then I work both pairs until the older pair is sufficiently worn to retire it and bring a new pair of boots into rotation.
I don’t particularly like new boots (until they are broken in). But they are necessary and these work for me.
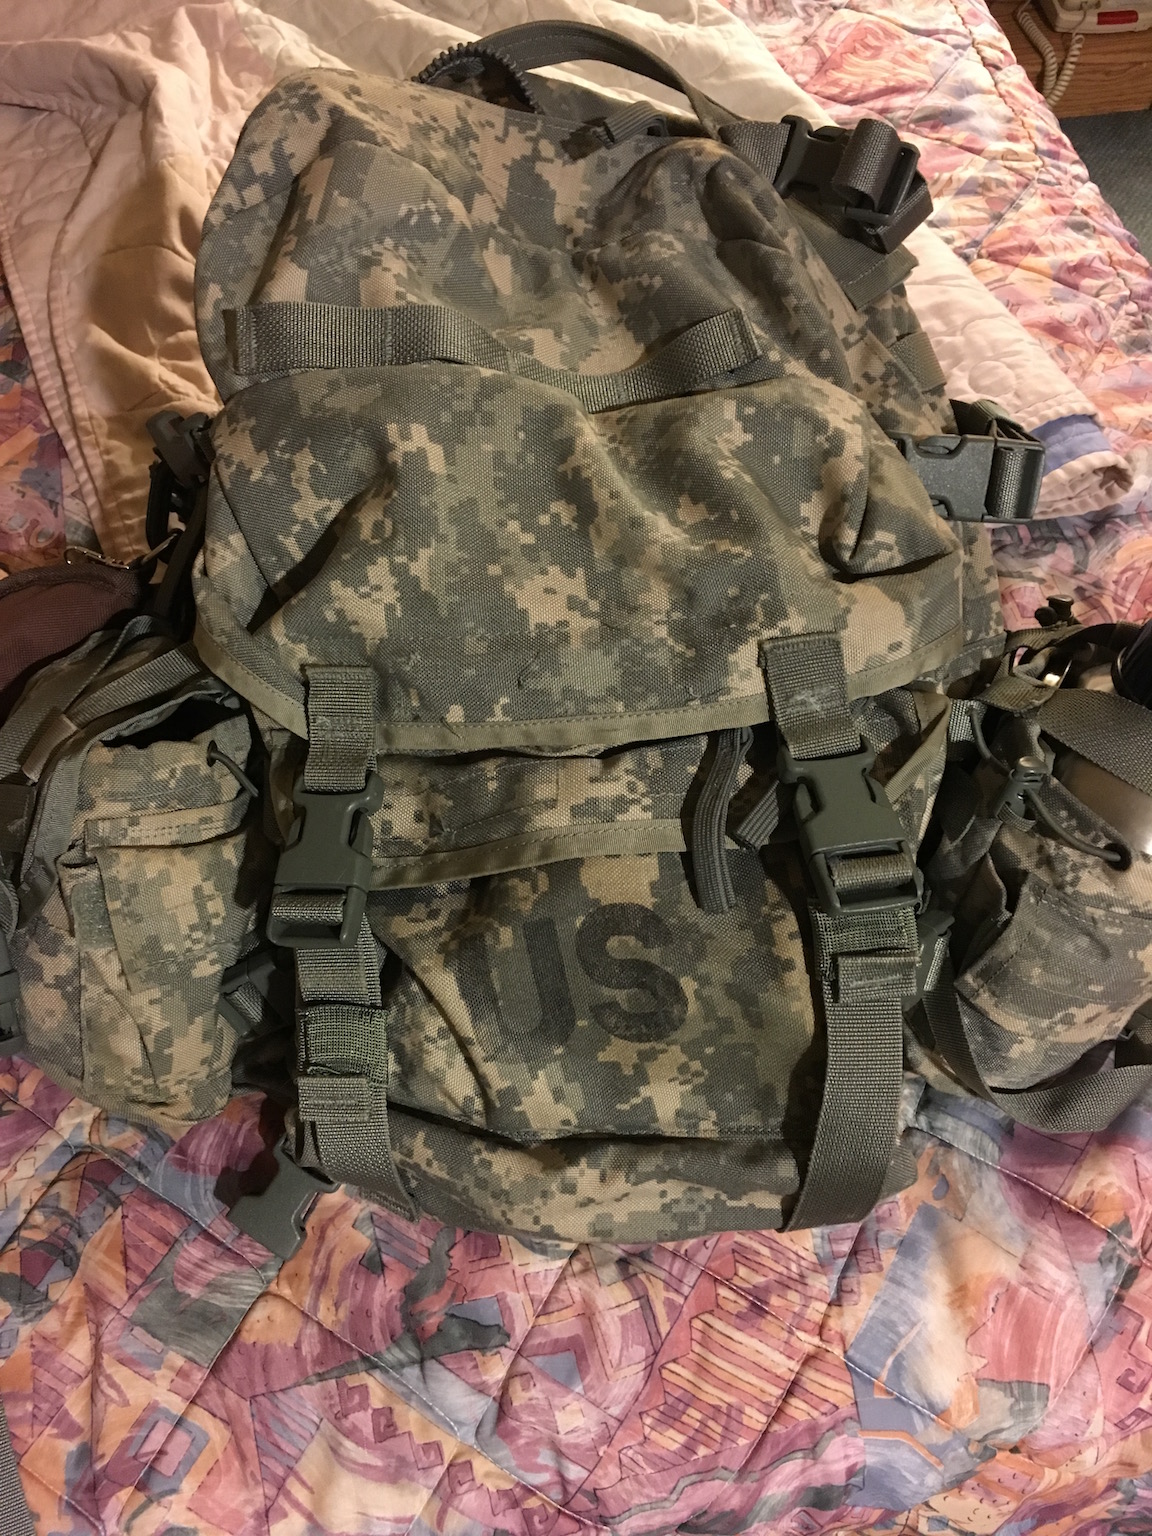
This is my MOLLE Generation II 3-Day Assault Pack.
About a year ago, I bought a surplus MOLLE Generation 2 3-Day Assault Pack. I wanted a pack to use as a day-pack so I could carry some water, a few emergency supplies, a camera, and repair materials for geocaching. I have come to love day hikes. I love geocaching in more remote areas — those that are more difficult that park-n-grabs.
I did some reading before selecting a surplus pack. I did not want to spend a lot of money, at least not initially. I know that military packs are developed to meet specific requirements, but I also know that materials are top-notch as required to stand up to the rigors of combat use.
From many perspectives, this is a great pack. There’s lots of room in the main compartment and a separator to keep the plastic stiffener apart from the contents of the main compartment. The main compartment is zipper closure (with a weather flap) and the zippers are high quality. You can put a lot of stuff in the main compartment. I keep a 3-liter Camelbak in there as well as a cover if I start out cool or think it might turn cool. There is much room left over.
There are two additional pockets on the front of the pack, a large compartment with zipper closure (and weather flap) that could hold food or necessaries that are too large for the smaller front pocket. I can put a couple of bushcrafting books in there and have room for some additional things.
The smaller front pocket is velcro closure (good velcro too) and has room for all of my geocaching tools, replacement logs, and plastic bags. I could keep a decent size pocket notebook in there as well.
The straps are thin but wide. I would say they could be good for loads up to 20 pounds or more, depending on your tolerance for discomfort. I get tired of the straps after five miles with a 20-pound load.
This is where the shoulder strap for the MOLLE Generation 2 Assault Pack attaches to the pack.I’ve learned a lot using this pack over the last year. I carry my load a little high. I don’t like the load hitting me in the ass. So the straps are fairly tight and the bottom of the pack sits in my lumbar regions, just above my hips. Because of that, the insertion points for the end of the straps poke me in the back. For short hikes this is just annoying and I can ignore it. For anything five miles or more, it’s uncomfortable. I suspect that if I was wearing the FLC and plates, that the straps would not dig my shoulders or poke me in the back.
I’d also like a separate pocket for my Camelbak. I know they are tough, but I’d like my water separate from my other gear.
The MOLLE is wonderful! There are tons of pockets that can be added to MOLLE-equipped gear. I like have cubbyholes to put things instead of a dump into the main pocket. So, my replacement pack will have MOLLE and I will use surplus MOLLE pouches to add pockets to my new pack.
There are many things about the MOLLE Assault Pack I like. But I need a pack that is comfortable to wear with the loads I carry. This one is not going to work for me.